Start this out with a 500×200 blank canvas. Drag a gradient like so over the canvas. On Tab Bottom Copy, use this gradient overlay - Left= #2a2a2a Right= #4e4e4e.
Left= #d3d3d3 Right= #f8f8f8.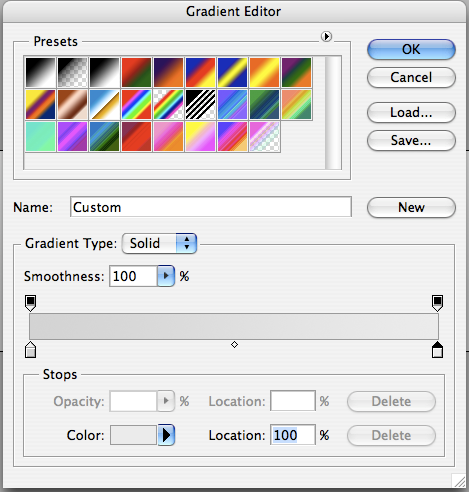
Using the line tool, draw a 2px line across the canvas with #d3d3d3 as the foreground color. Mine looks like this: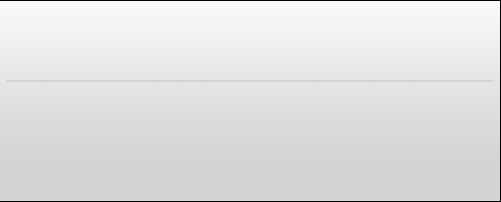
Create a new layer and name it “Tab Bottom.”
Grab the rounded rectangle tool. Set your radius to 6. Draw a rounded rectangle. Remove any of the tab above your horizontal line. It should look like this: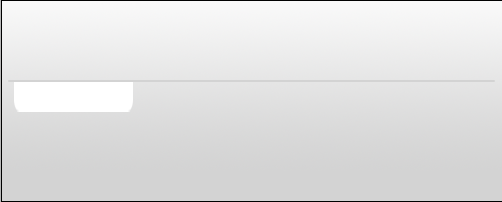
Add the following layer styles: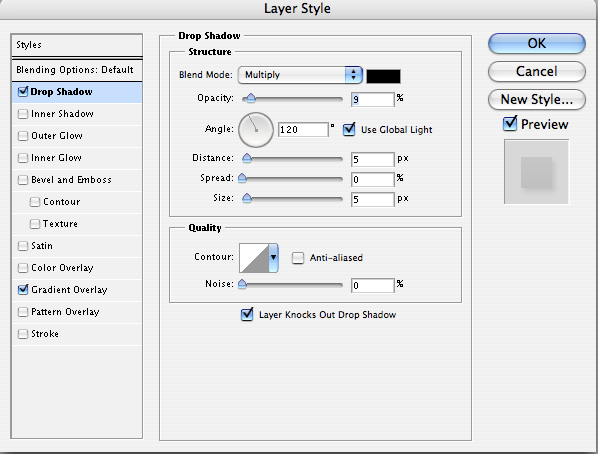
Left= #bebebe Right= #c8c8c8.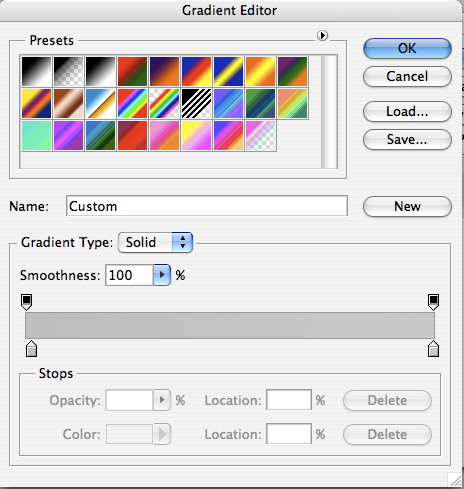
Your tab should look something like this: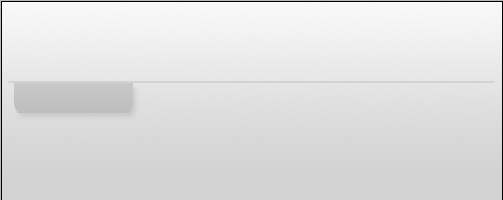
Duplicate the “tab bottom” layer. Name it “tab top.”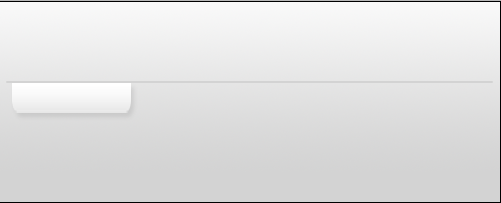
Add this gradient overlay - Left= #f9f9f9 Right= #f6f5f5.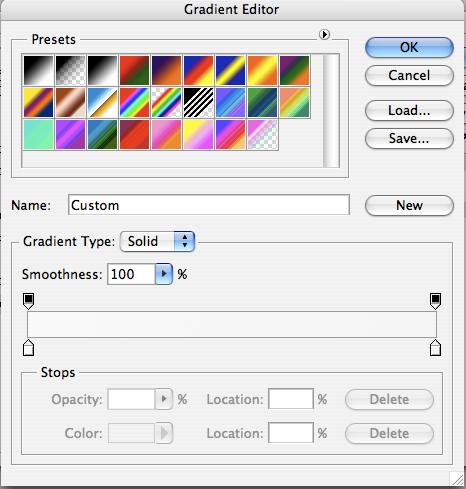
Lower the opacity of “tab top” to around 80%. Hopefully, you have something like this: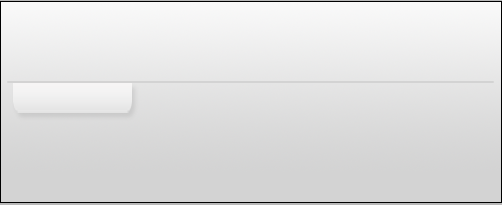
Type in some black text. I wrote ‘home.’ Lower the opacity of the text to around 67%.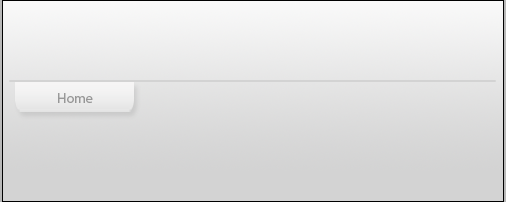
For this step, grab the pencil tool with a 1px size. Draw these small details on the tab in a slightly darker gray.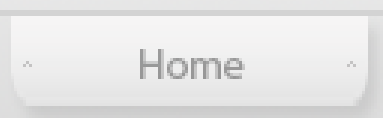
So far, your tabs should look like this: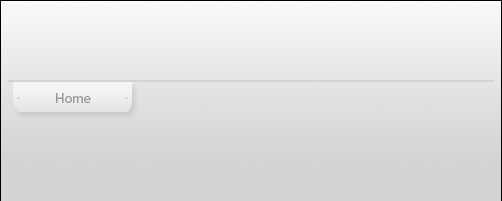
Duplicate all these layers: Tab bottom, tab top, and the designs on the tab.Put these layers underneath the original tab and position them underneath your original tab.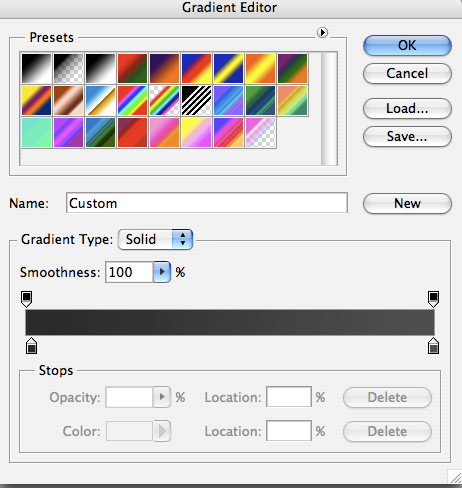
On Tab Top Copy, add this gradient overlay - Left= #222222 Right= #2e2e2e.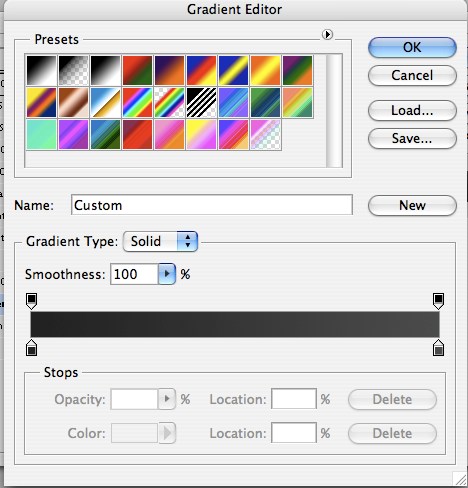
Change the text on this second tab. I made mine white, opacity 67%. Mine looks like this: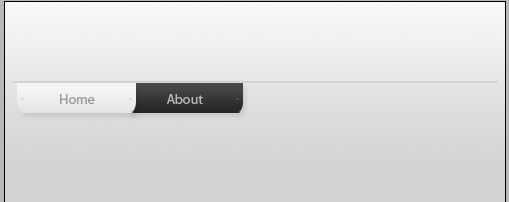
Make a selection over the top half of the black tab.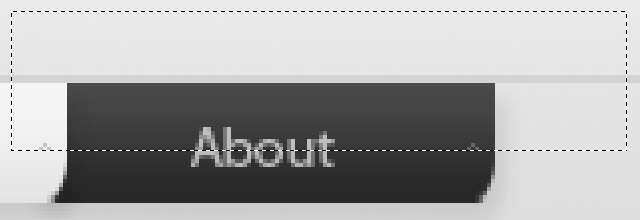
Create a new layer. Title it “gloss.” With the gloss layer selected, Cmd+Alt+Shift click the thumbnail for Tab Top Copy. Your selection should automatically look like this: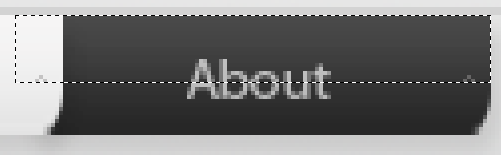
Drag a white to transparent gradient vertically across this selection. Lower the opacity to around 5% to get this smooth gloss effect.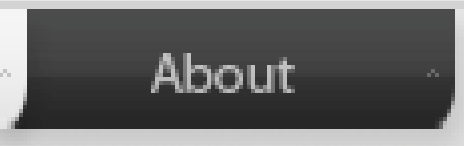
I went ahead and made a second black tab: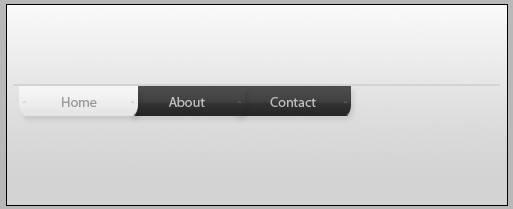
For the last part of this tutorial, I really want to add in a distinct tab for my RSS feed. Go ahead and duplicate one of your current tabs and drag it to the right edge of the canvas.I added the following gradient overlays to Tab Bottom and Tab Top respectively:
Left= #fea203 Right= #c98001.
Left= #fea203 Right= #ff8a00.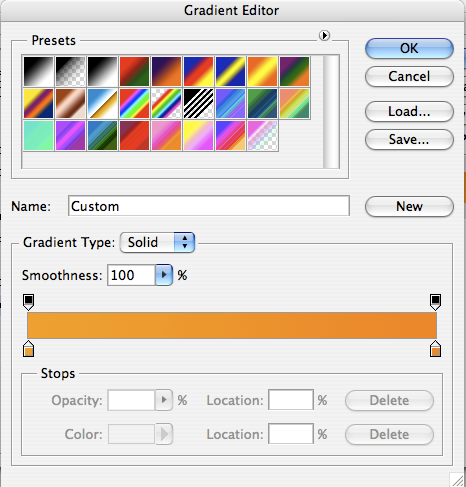
I changed the text to RSS and shortened the size of the tab. My final product looks like this: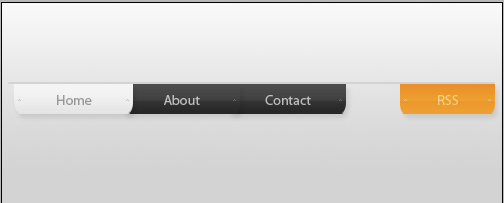
Archives
-
▼
2010
(9)
-
▼
Juli
(9)
- Sejarah Rilis Software Adobe Photoshop
- Download Ebook Trik Photoshop 6 >> 7, CS, CS2, CS3...
- Adobe CS3 Dock Icons by ~Victomized
- Download Icon Photoshop: Mac OS
- Download Surface brushes
- Tutorial Photoshop 002: How to Create and Design V...
- Tutorial Photoshop 001: Web 2.0 Navigation Design
- Download Adobe Photoshop CS4 for Photographers Cre...
- DesignProVideo Photoshop CS4 402 Drawing Objects I...
-
▼
Juli
(9)
Tutorial Photoshop 001: Web 2.0 Navigation Design
Minggu, 04 Juli 2010Diposting oleh MY LIBRARY di 23.10
Label: Tutorial Photoshop
Langganan:
Posting Komentar (Atom)
0 komentar:
Posting Komentar